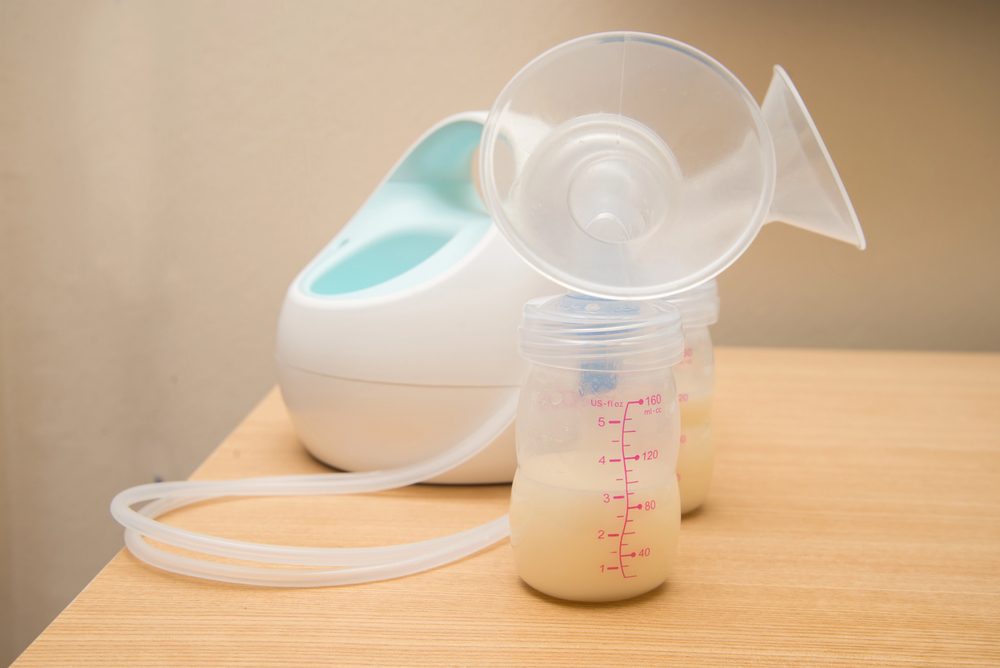
As a nursing mom, you already juggle enough, so pumping shouldn’t add to the stress. With a setup that fits seamlessly into your daily rhythm, you can make each session feel effortless. One smart way to facilitate that is creating a storage-organization system for your breast pump accessories and replacement parts, so everything is exactly where you need it.
Why Proper Storage Transforms Your Daily Routine
Make Life Easier
Free time is scarce for new moms, so when you finally have a moment to pump, it’s much easier to strike while the iron is hot if you know exactly where all your pieces are. There’s no mad scramble through drawers or the pang of discovering a forgotten valve tucked in a bag from weeks ago.
Enhance Safety
Properly storing your breast pump parts after a session or a cleaning can help improve the longevity of your components. Damp parts left in a sink invite bacterial growth, while tangled tubing can crack and disrupt suction. Following sound storage practices can prevent potential damage and save you money in the long run.
Clear Your Mind
A well-organized setup provides mental clarity. There’s nothing worse than being sleep deprived after a night of late feedings, and you open your cabinet door to breast pump parts tumbling out of it. Organizing the chaos will help you keep a clear mind when you’re running on empty and tending to your little one.
1. Selecting Containers That Fit Your Space
Start by choosing transparent, compact containers so you can see what you need at a glance and grab it easily. Clear bins with secure lids keep everything visible while protecting your parts from dust. For safety, opt for BPA-free plastic or food-grade silicone organizers. Stackable containers and tray dividers can also help you stay organized while maximizing your space.
2. Organizing Breast Pump Accessories and Replacement Parts
The placement of your parts should be arranged based on how frequently you use them. Place your everyday-use items front and center. That way, you can grab them without fumbling through a sea of different pump pieces and assemble them even with your eyes half-closed.
For the pieces you swap less often, like backup flanges or extra tubing, carve out a secondary zone that’s out of the way but easy to access during those inevitable “oh no” moments.
Layer in seasonality if your climate or routine is likely to shift. In humid summers, you might elevate the moisture-prone items to a drier spot, while in winter you might need insulated pouches to keep the cold from stiffening up any silicone components.
3. Labeling and Tracking for Easy Navigation
A simple marker and tape are all you need to level up your storage system. Label parts with dates if they tend to have a shorter shelf life, like the date of installation for valves or the suggested replacement date for tubing, so you can track things without all the guesswork. Once you’ve written all these things down, you don’t have to keep space in your brain for remembering it all.
Extend this practice to keeping a quick log, which can be a notebook by your pump or an app on your phone, where you jot notes about replacements and needs. “New membrane boosted output—keep this brand,” for instance. This will also build your knowledge base so you can tweak your setup for optimal output.
Embrace color-coding if visuals are your thing. Try blue for daily use and red for backups so you can just do a quick scan and grab what you need. This also comes in handy when a babysitter or house cleaner stops by, making it easy for them to learn your system and find their way around the kitchen. Over time, refine the system and discard what no longer serves.
4. Keeping Cleanliness at the Heart of Your Storage
After each use, clean and air-dry everything thoroughly before nestling things away. Keep a dedicated rack that lets the breeze work its magic. Your storage spot will thus stay dry and mold-free.
Incorporate routine soaks with a vinegar solution for an extra barrier against buildup, and then rinse and dry the pieces thoroughly before storing them away. For spares, consider vacuum-sealing them to lock out air and microbes so you can have confidence that they’re ready to go without needing to clean them again before use.
5. Choosing Portable Solutions for On-the-Go Pumping
If you’re traveling or out-and-about and need your pump to tag along, you want to ensure all the parts are easy to access. Ideally, you need a setup where you can simply grab-and-go whenever you want to leave the house.
Insulated totes with padded dividers are the perfect solution. They cushion valves during transport while keeping temperatures in the safe-zone for milk storage. Zip in a travel kit of essentials that is clearly labeled for airport scans or quick bag changes. While it might seem like a lot of prep work, it lets you nurse on your terms without tethering you to home.
When everything you need for your pumping is organized and clear, it helps you reach and sustain your pumping goals. For help in finding the right pumps and accessories for your journey, visit us today at Breastpumps.com.


